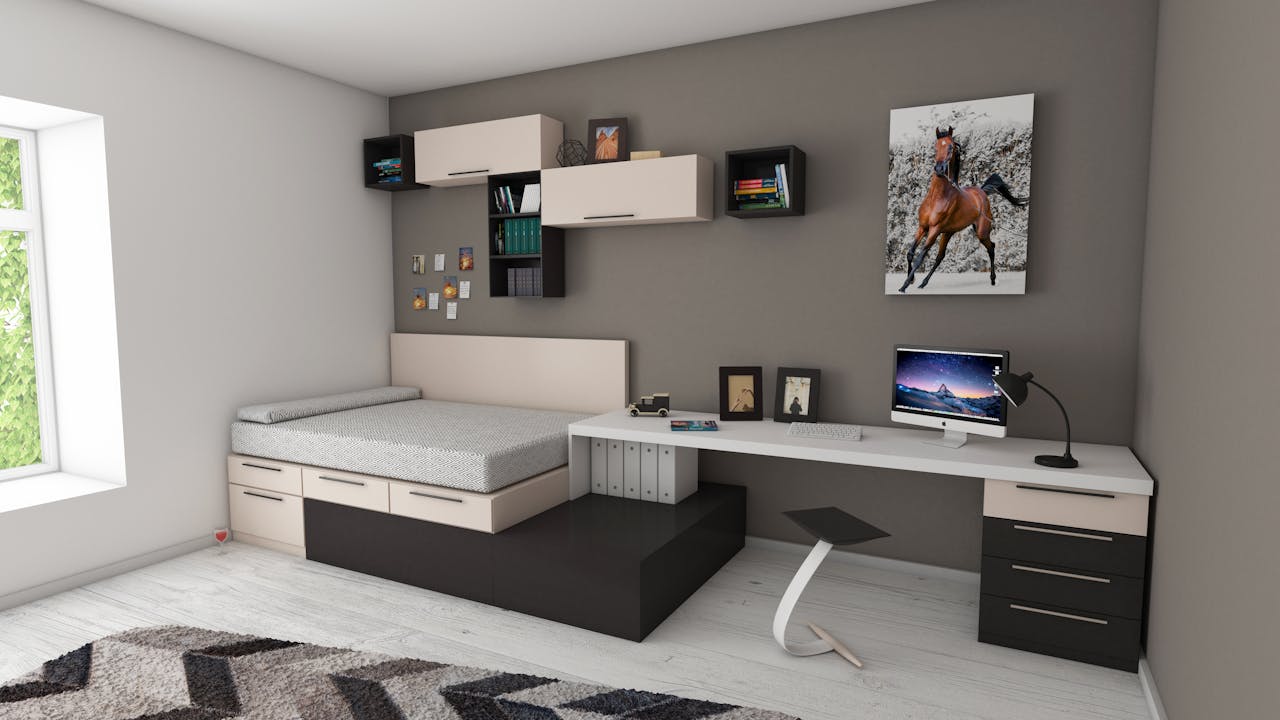
Automation
Automate your home with intuitive devices that enhance comfort and security, making everyday tasks simpler.

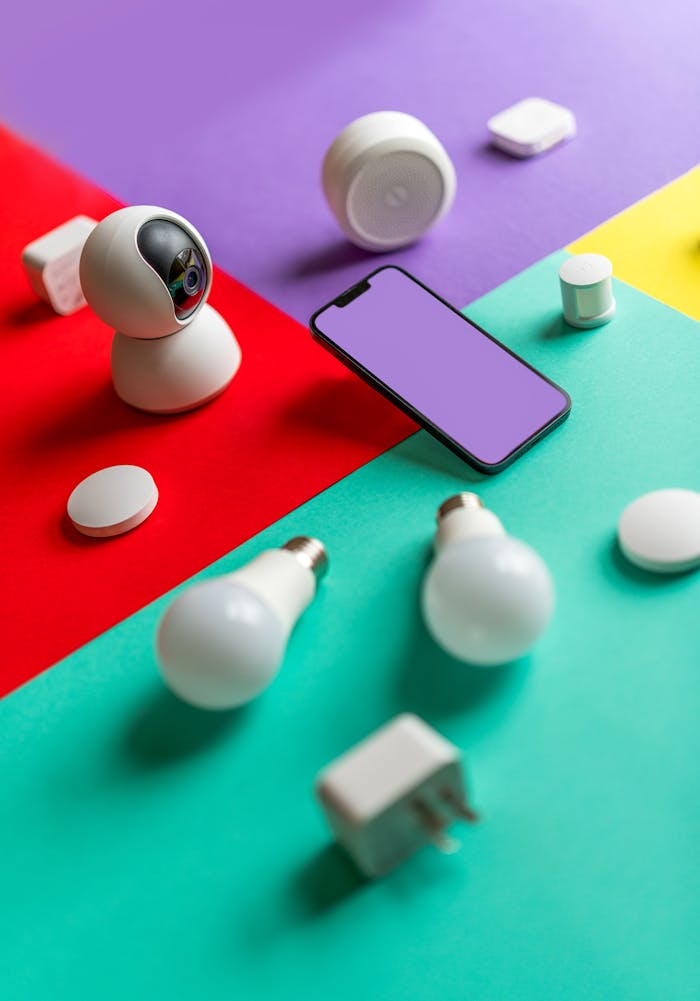
IoT Devices
Stay connected with our range of IoT devices that enable seamless communication and control from anywhere.

Connected Gadgets
Experience the future with innovative gadgets that transform your home into a technologically advanced living space.


Get Things for Home has truly changed the way I interact with my living space, making it more efficient and enjoyable.